
Using Sculptris, we began with a simple sphere. We then used the tools at the side to manipulate it, creating craters to make it look like a moon. I mainly used the tools draw, crease, pinch and smooth to create the desired look.

Once finished I saved and exported the file to put into Maya. Then I made another basic sphere, re-sizing it to be similar to the model I made in Sculptris.


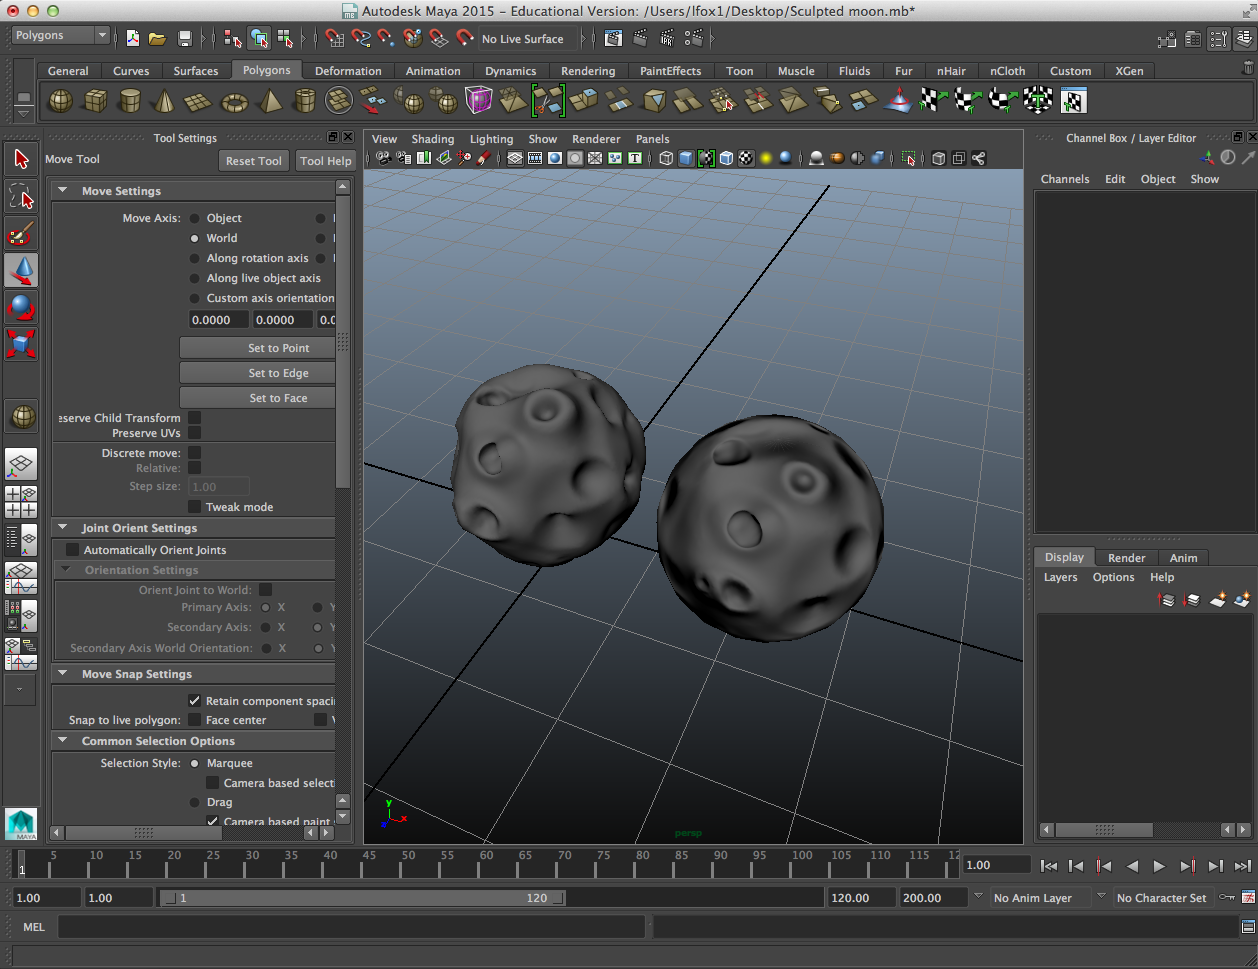
With the sphere placed inside the original sculpture from Sculptris, I held the spacebar which brought up a menu where I chose 'Light / Shading.'

Clicking on the 'Light / Shading' menu I chose 'Transfer Maps.' In Source Meshes, I chose the more complex shape to project on the sphere. Then selecting 'Normal' in the 'Output Maps,' I chose where to save, changed the file format to Targa (tga) and chose Bake. However this left the sphere with rough edges, like a disco ball structure, so to fix this I went to 'Soften Edge' under the 'Normals' tab at the top menu of Maya.

This is the texture produced that was then projected on to the plain sphere.

This left me with the plain sphere looking very similar in shape and texture to my original sculpted moon in Sculptris.

Original sculpted model on left, replicated on right
To make the craters dark and give them depth, I did the same process (space bar > Light / Shading > Transfer maps) but this time chose 'Ambient' rather than 'Normal'.

Choosing 'Light / Shading'

Settings used

New texture projected on plain sphere

Result
To get rid of the poles at the top and bottom of the meteor (as shown below) I took the baked texture into photoshop to get ride of the black top and bottom.

Picture of top of model before poles taken out

The texture in photoshop with poles painted white
I saved this and then put the updated texture back on the model. The poles then disappeared, giving the model a cleaner look.

Picture of top after poles have gone

The progress between models
Next I wanted to add a moon like ground texture to the model. After finding one on google images, I brought both textures into photoshop, merged them together and selected multiply.

Combined textures

First attempt complete
However I didn't feel this ground texture was very good, and ended up changing it.

Merging together in photoshop

Completed merged texture

New texture on model

From another angle
I decided to have another go to gain more practise, so duplicated my model, found a new texture and repeated the process.

Merging 2nd moon's textures together

Final designs

Updated progression from original high poly model to the ones created in Maya
Then we learnt how to export models from Maya into Sculptris to edit and then import back to Maya. Going back to the meteors created in my last post, I exported one of them into my documents. I then used the import button in Sculptris to bring it into the software, giving me it's basic shape to play around with. It wasn't very easy to make changes to the model, but using the 'subdivision tool' in Sculptris I was able to make more faces to manipulate.

Model imported to Sculptris with subdivisions added
I created craters and dents in the model to make it look more meteor like. This was then saved and imported into maya where it was placed inside the original meteor I had created before.

I followed the same process as before to bake the model.

The original and baked models
Then to add the original texture back on to the meteor, I took the image from the model being baked and the ground texture into photoshop where they were merged and multiplied to show the crater detail.

Texture on faces in photoshop
This was then applied to the baked model to finalise the design.

Final design based off original
Reflections
I had a lot better day today, in the way I was less stressed! I always get anxious going in because I'm not sure how the day will turn out and how difficult I'll find it, especially when I found out we were actually going to be sculpting! But my worries today quickly faded and I found I could generally keep up and understand. Also I don't think my models this week were TOO bad (hopefully)! I think practising on the spaceship, allowed me to gather myself together when using the software and helped me be a bit more confident and calmer when using it.
No comments:
Post a Comment