


About Me

Popular Posts
-
My Role Experience For me, as an editor, the production stage was a lot about observing the footage in real time in order to understand...
-
 The piece's focus is of the movements associated with anxiety, and therefore I want a lot of close ups of hands, feet etc to show this....
 -
How anxiety displays itself between person to person is very different - panic attacks can occur out of nowhere or certain thoughts or even...
-
Wreck It Ralph (2012) Wreck it Ralph was one of my immediate thoughts when thinking about the landscape for the project. I like the use...
-
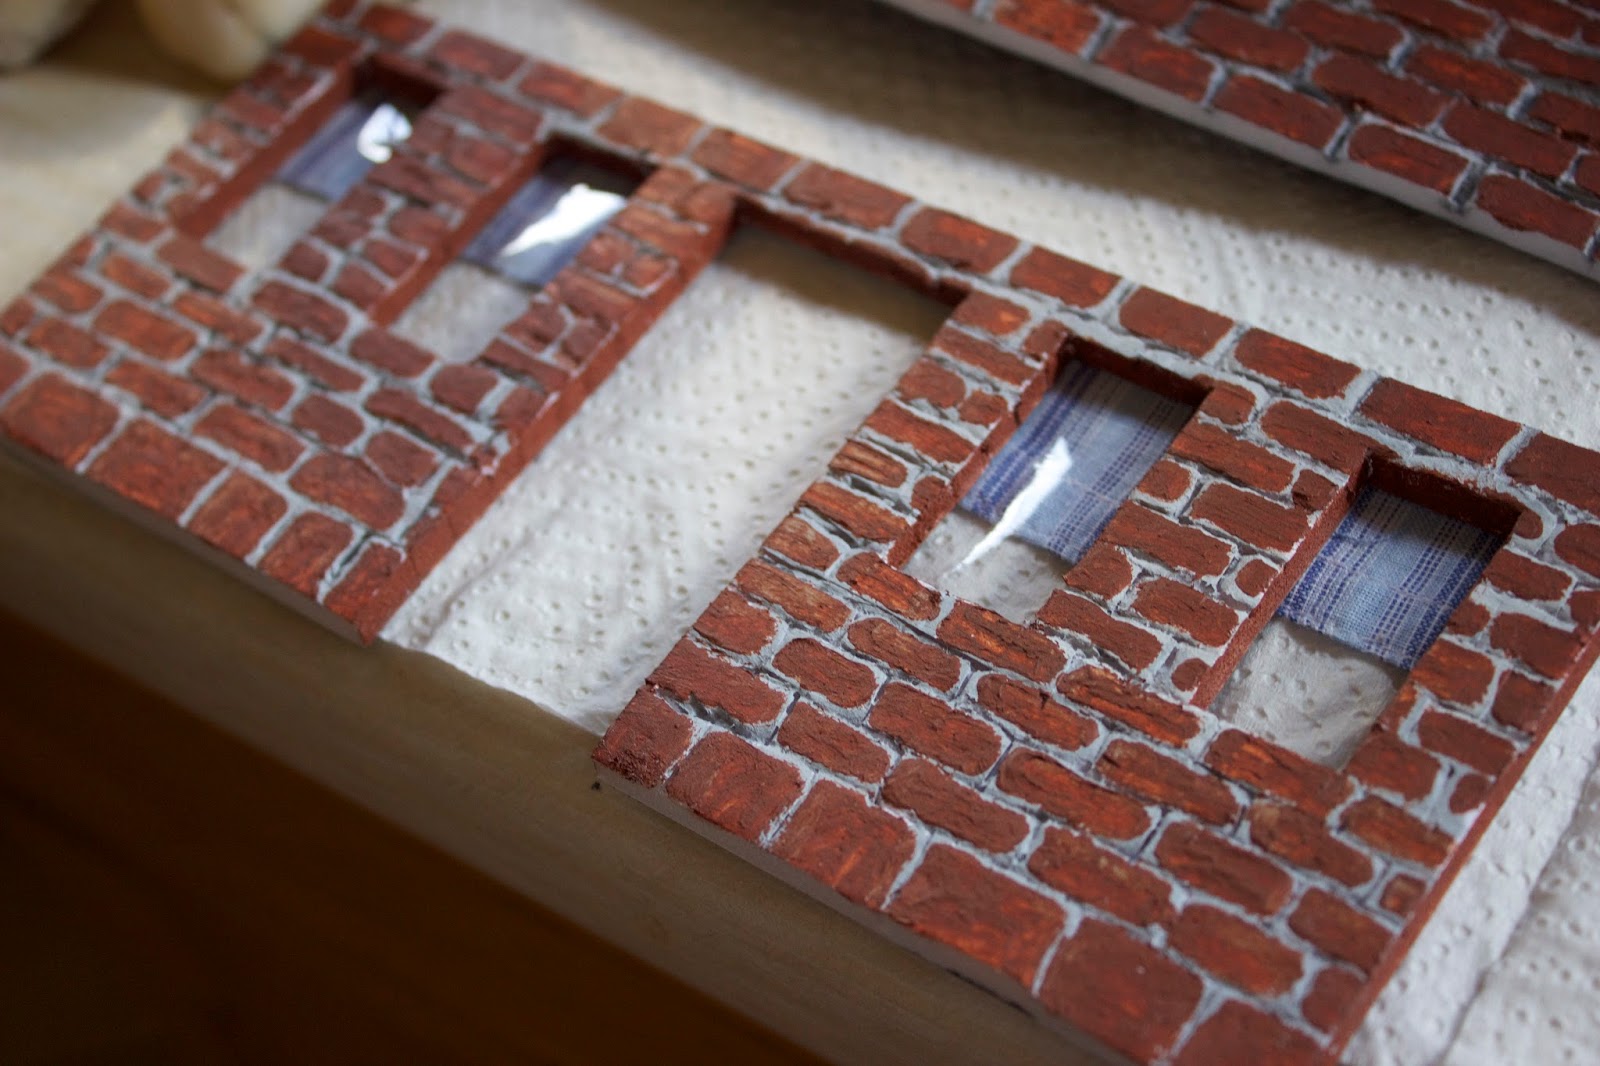
 This section of the set took the most time and effort to complete, as it required a lot of measuring and working out angles etc. so this bl...
 -
 After discussing our previous updated idea with Rosie, we concluded that we should return to our original idea as we were trying to over co...
 -
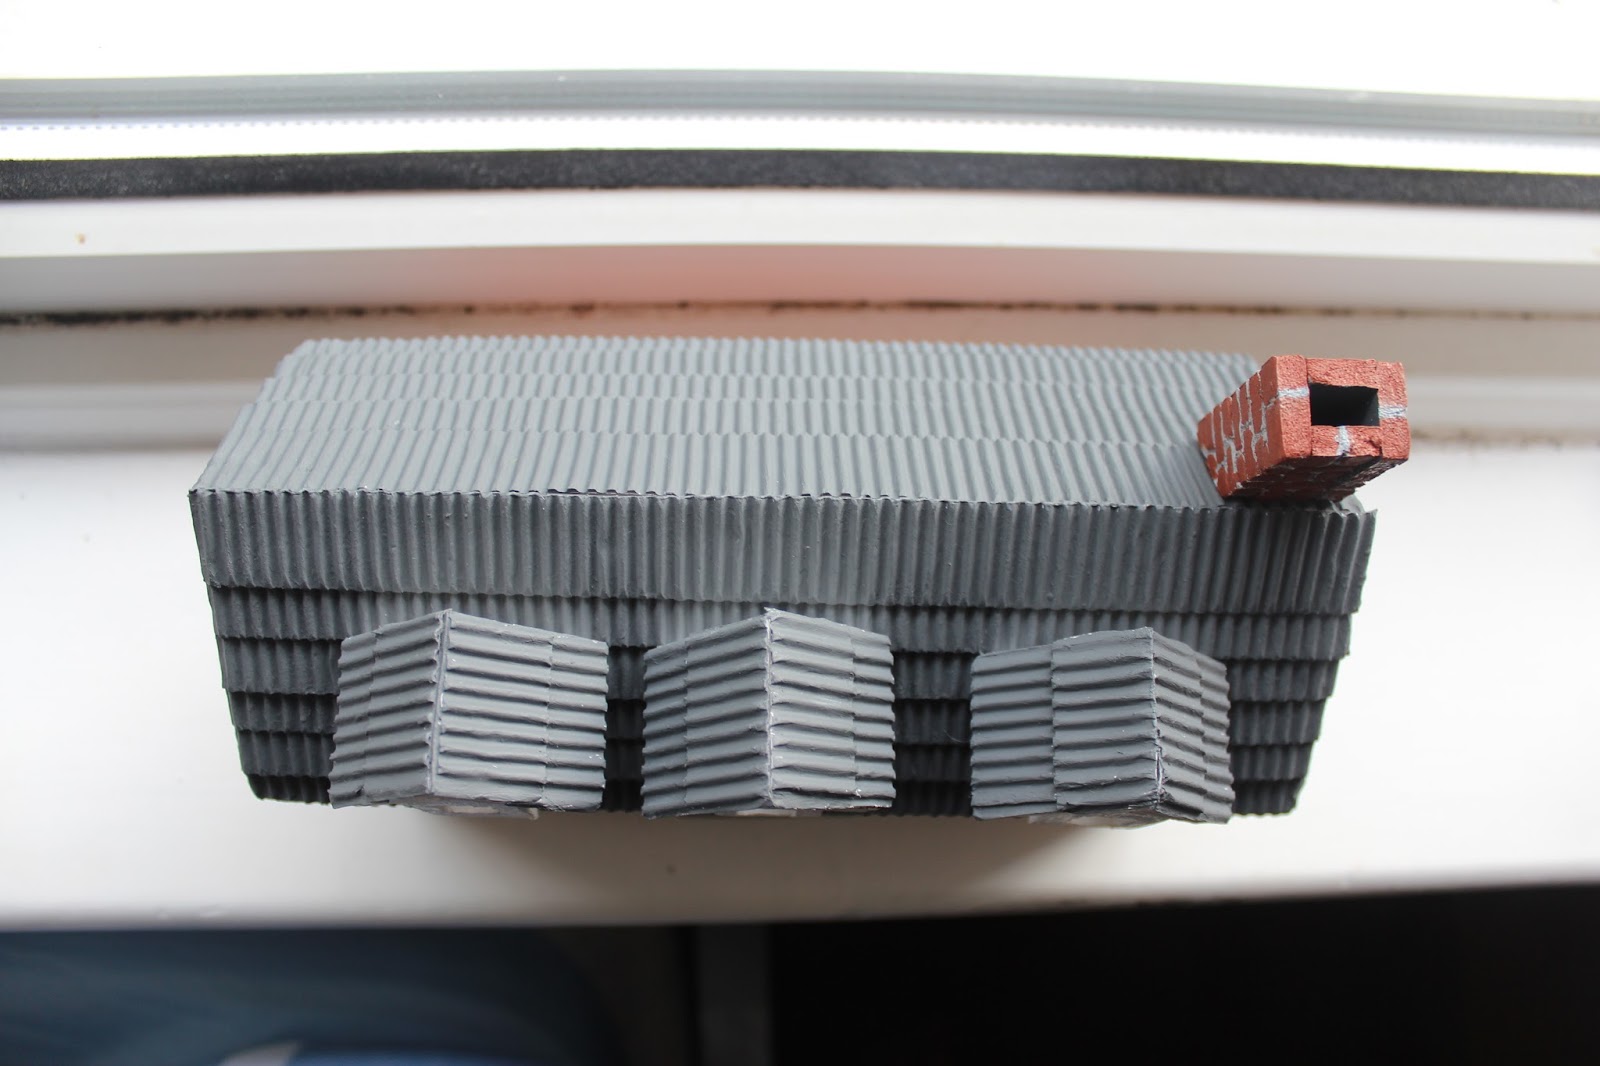
 Before production could properly get underway, we spent about 5 days preparing and building the cafe that would be our set, aiming to look s...
 -
Feedback Think about how the vines and branches relate to anxiety, what we want to say with them and how to incorporate them into...
-
Mollie, Katherine and I had a tutorial with Vicky to discuss our idea further and get more advice on where to take the project. The main que...
-
 Due to the hot conditions of our room during the stop motion shoot it meant our character and set would often melt, and time had to be spen...


