Dance : The Rough Edit In Avid Media Composer

/
0 Comments
I have spent Easter creating a rough edit of the film in Avid, so we can get straight to work on refining it when we are all back to uni. To begin with I wanted the footage to be very organised, especially since some of the blade shots had glitches - any that I found with this, I wanted to be able to find the same clip but in the EX3 footage. I created bins based off of the four sections of our dance - Phase 1, Phase 2, Phase 3 and Phase 4 - and placed the footage accordingly. 

Project Window with bins

I began with the EX3 footage, naming each file based off of the shot in the Source Window. I then coloured these blue, so that I would instantly know any of these clips would be from the camera and not the blade. I named the blade clips exactly the same as their camera equivalent, for easier access when editing if I ever wanted to swap between blade and camera. These were then coloured red to instantly know these were from the blade. When placed in the same bin, I organised according to name so that the camera and blade equivalent clip would be beside each other, once again for easy access for swapping.

Example of Phase 2 Bin Organisation 


To begin the edit I created a new sequence, in an 'Elysian Sequences' bin and named it 'Elysian Rough Edit' so that I can duplicate this later for a final cut, while still having the option to go back to the rough. The notes that we had discussed as a group in preparation for me to do the edit were : 

Beginning
  • Lots of CUs 
  • Fast, quick cuts to reflect frantic, chaotic atmosphere 
  • Fades between cuts (see Mockingjay clip for reference)

  • Play around with the order of phase 1
  • Fade to black
Middle
  • Fade in from black
  • Becomes slower paced, longer cuts, more flowy
End
  • Long pan out 
  • Prepare for this to be manipulated in AE to make it appear longer
General
  • Consider adding lens flares 
  • Lights need and floor need masked out in AE 
  • Colour correction - Dark and washed out look
  • Bubbles and dust added in AE
For the actual edit, I was most concerned about fitting all the story together in the best possible way, as I felt it would be better to take stuff out, rather than add more in during the later stages. I included every part of the dance, from the angles I felt worked best together for those specific parts. I found continuity to be an issue that arose a lot of the way through, which was quite frustrating - this is an area I'm definitely going to re-inforce to everyone on future projects as it made parts of the edit an absolute nightmare! 

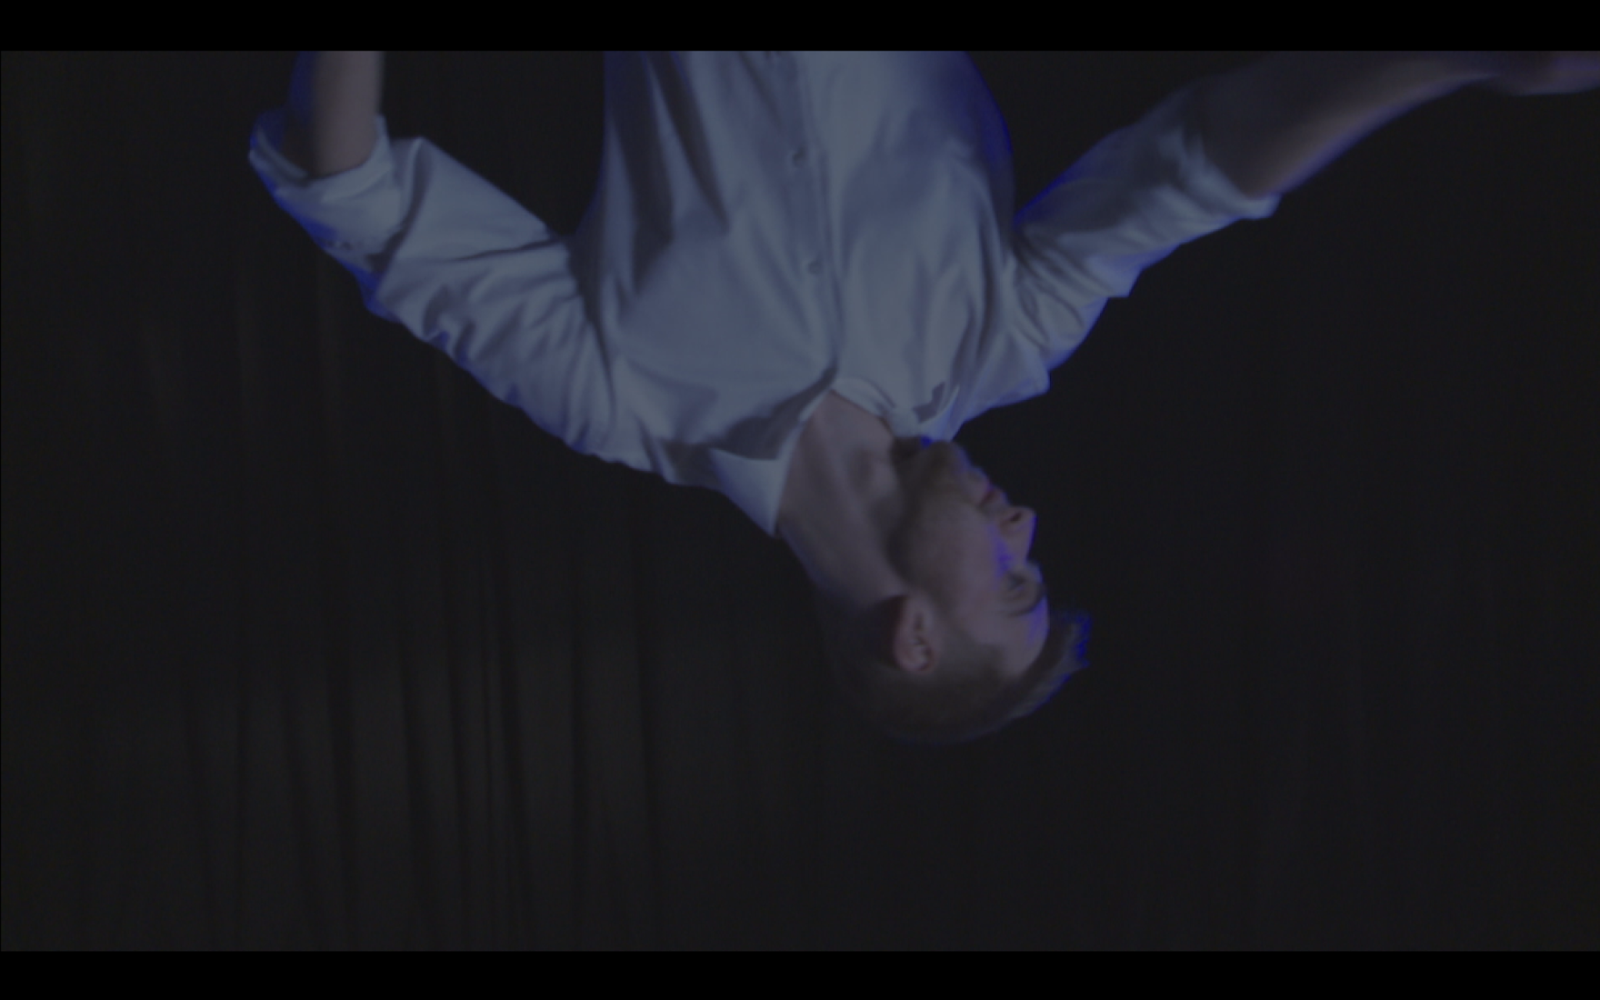
Phase 1 was an experiment for me to try and establish what effects could be done to get that chaotic sense we were looking for. I tried several things:

Overlaying images


Flipping the images


Adding quick fade to blacks


I also played around with colour correction to get an idea of what the final look shall be and how the edit was working with this. 

Once the edit was done I exported it and posted it on the group's facebook page for feedback from the rest of the group and to keep them up to date with the editing process. I'm going to note at this point how useful the facebook group is, as due to us all living a good distance away from each other (e.g. me across the water), this was a convenient way to share any progress we made during the Easter break, or other times when we were away.


Our aims are too shorten this rough version into the final version. We're going to have to be very selective as to what will make it into the final cut to get it down to our desired time of around 4-5 minutes. However I am really looking forward to it all coming together, and doing this rough edit has got me excited for what is to come! You don't know how hard my fingers are crossed that it comes out okay! 


You may also like

No comments: