About Me
Blog Archive
-
▼
2015
(102)
-
▼
March
(18)
- Dance : The Shoot
- Dance : Preparation For Shoot
- Dance : Rehearsals 2 - Choreographing the Dance
- Interactivity : Self Evaluation
- Interactivity : Customising my Game
- 3D Modelling : Self Evaluation
- Dance : Being a Runner for "Parallel"
- 3D Modelling : Creating Potatoes for Interactivity...
- Dance : Rehearsal 1
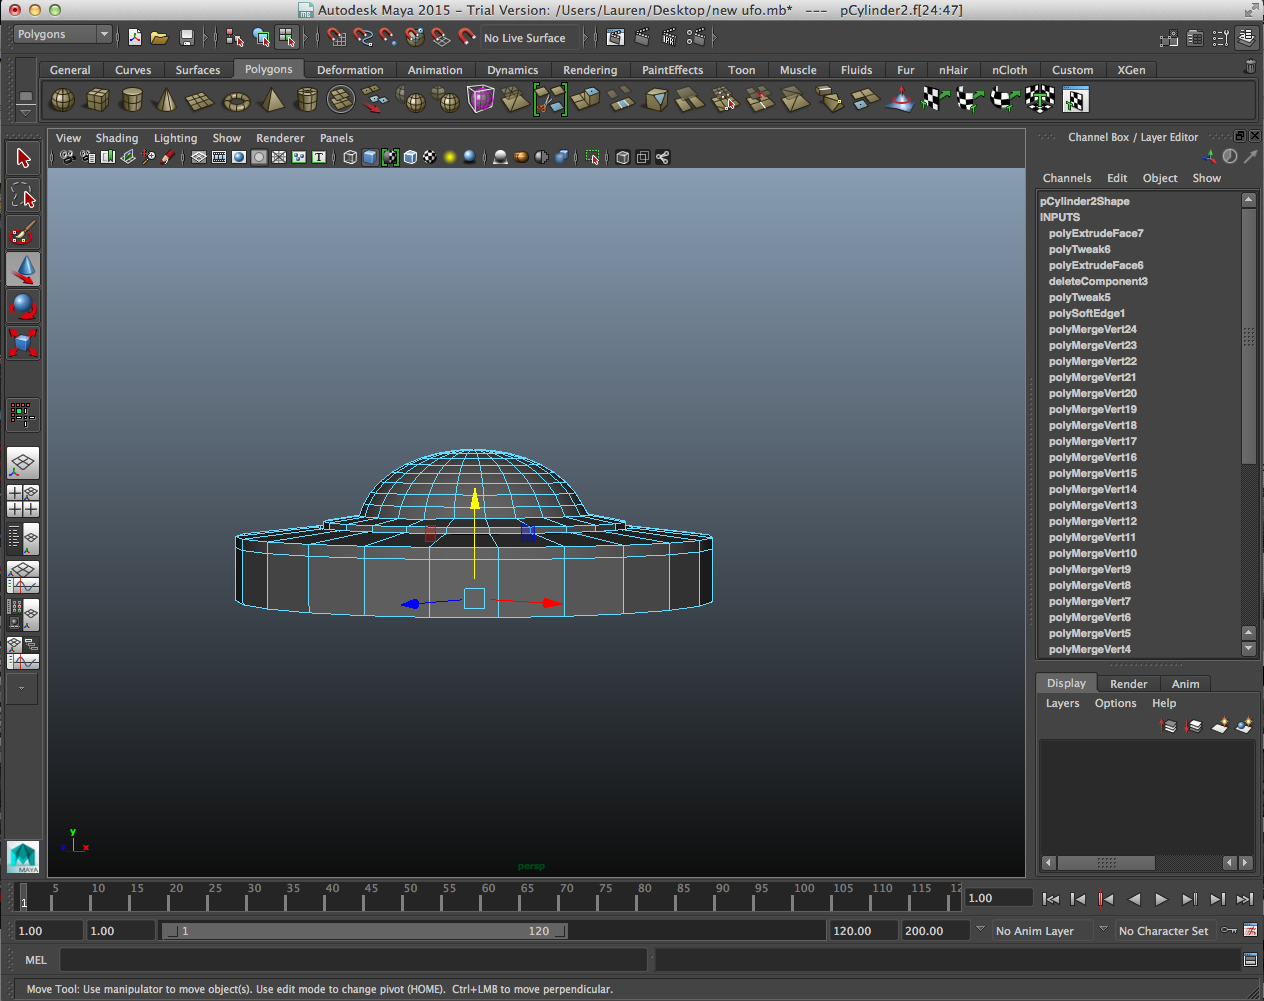
- 3D Modelling : Designing New UFO Model
- 3D Modelling : Creating an Improved UFO Model
- Dance : Locations
- Dance : Project Proposal and Presentation
- Interactivity : Workshop 7
- 3D Modelling : Workshop 4
- Dance : Tutorial With Rosie and Owen
- Dance : Audition Plan
- Dance : Tests in After Effects
-
▼
March
(18)
Popular Posts
-
Today I further developed the Synopsis and wrote a treatment for the film which can be seen below : Tom also put together the shot ...
-
I created a rough shot list to gain a first idea of what the film may look like and the kind of visuals we might want to gain from it. I se...
-
To create the rough edit, I thought I would continue to use Avid to test my skills and improve my knowledge from what I learnt through the ...
-
Today we held our first rehearsal with the female dancer, Emma, who I had been in contact with from the outset from posting the casting ads...
-
I wrote the synopsis briefly explaining the main concept of the piece. Then I expanded the information into a treatment, explaining roughly...
-
We discussed all our problems with... not securing dancers lack of camera lack of room that would work with our video We looked int...
-
I found this Google Talk while searching for behind the scenes of various animations on Youtube, and after watching the first five minu...
-
I was runner for Tom, Lucy and Shahid's group for their dance film "Parallel." At the beginning of the day, me and Kat...
-
Today we held a rehearsal which both performers, Harry and Emma, could attend to establish what the final dance will look like. This was he...
-
After showing Rosie our test version of what the visual section might be like for the final piece she advised that we choose maybe a more s...


